


MAC, Studio Fix Fluid SPF15, MAC Pro Longwear Concealer & MAC Studio Fix Powder Plus
Foundation, $49. Concealer, $32. Powder, $49
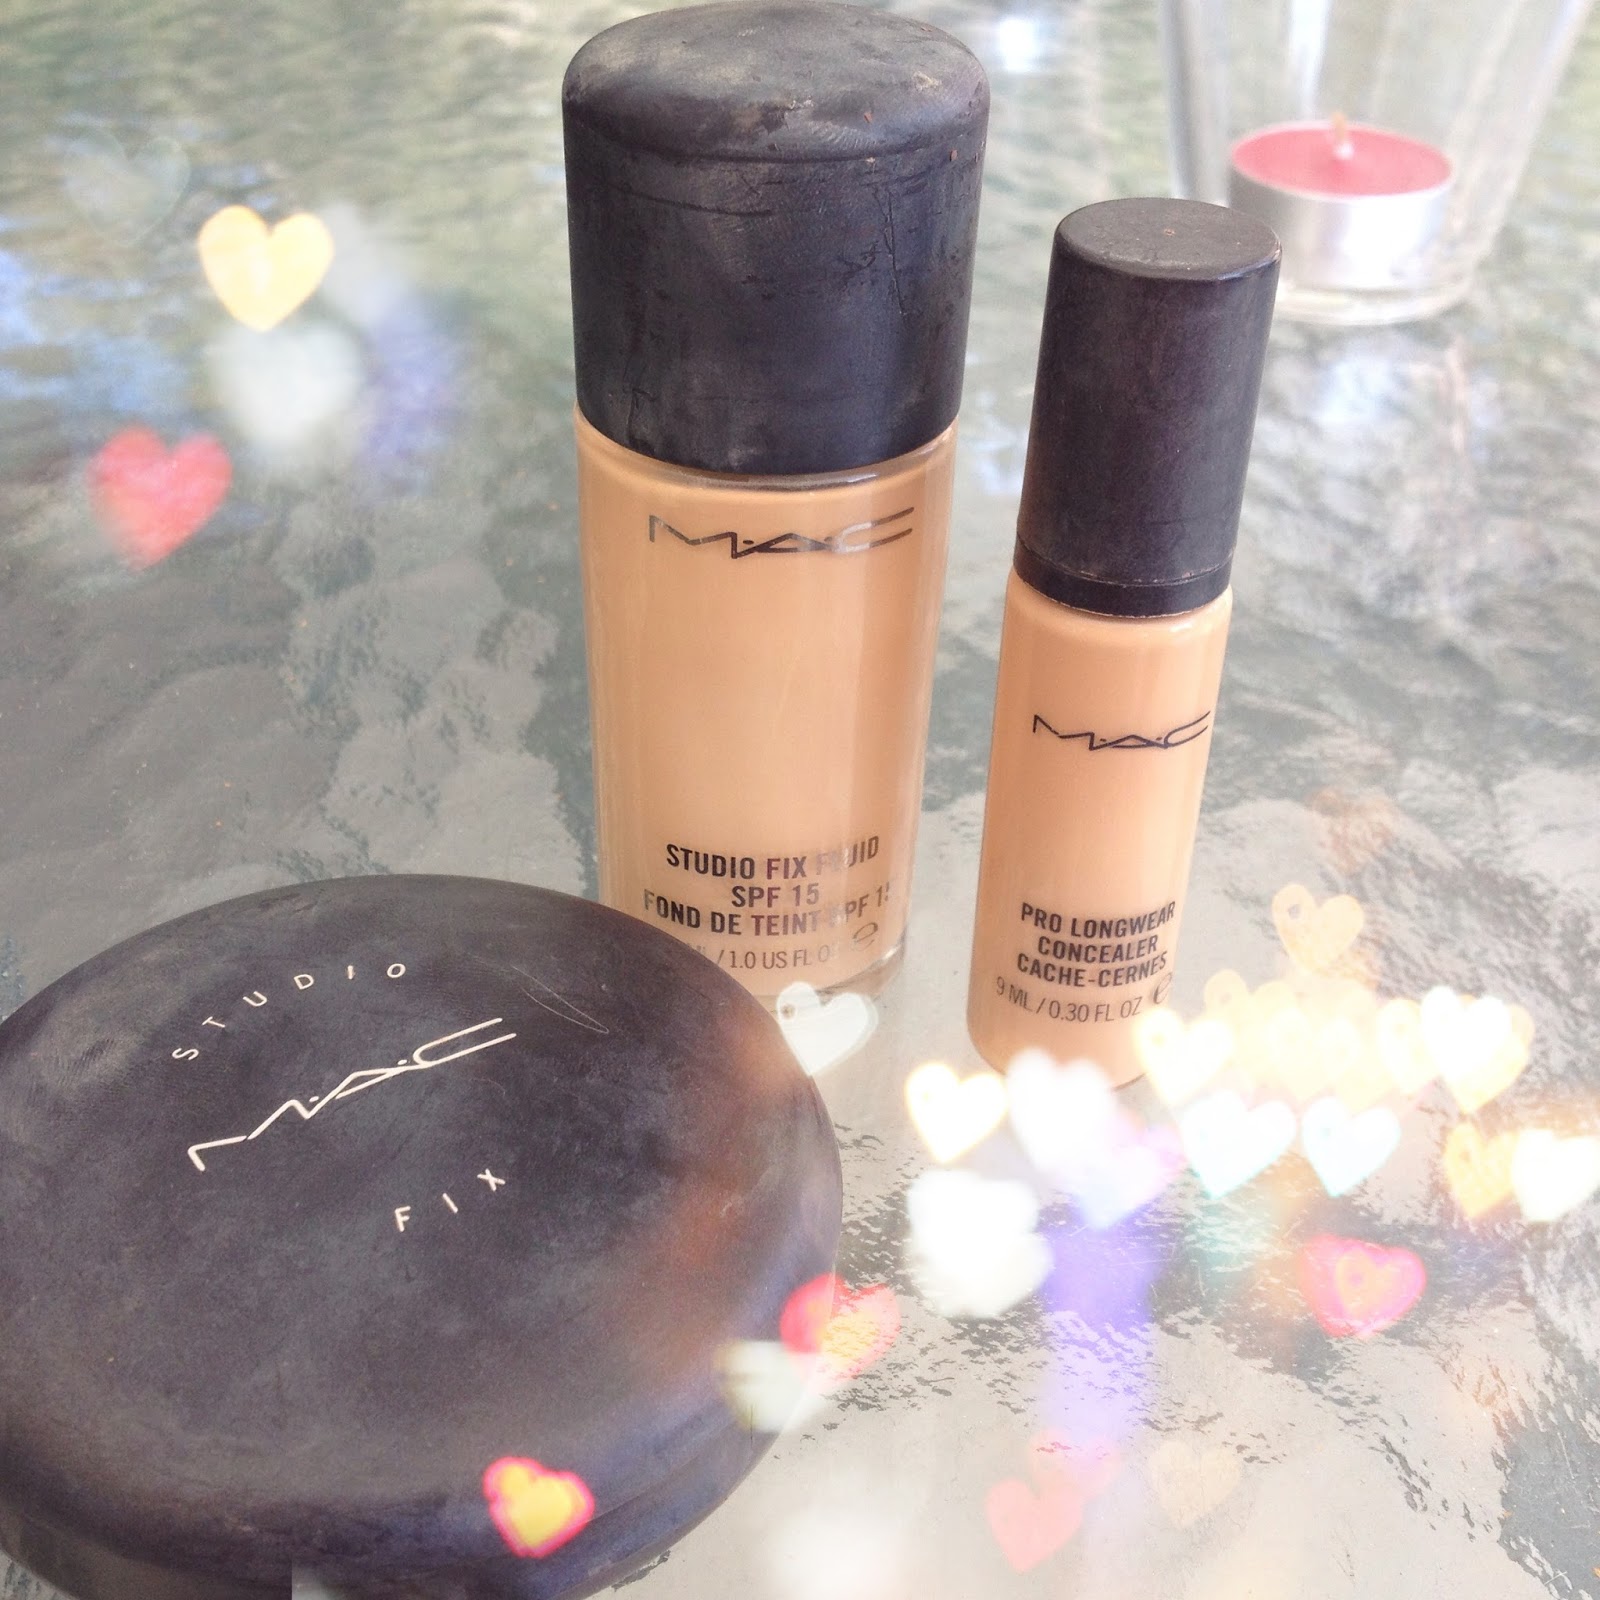
Concealer can be used to cover any areas that still appear blemished after your foundation is applied (concealer can be applied either before of after foundation, it depends what you prefer, but for us, concealer always comes after foundation purely so that it's effect doesn't get lessened or lost when you are applying your foundation). We use MAC Prolong-wear Concealer
Finally a powder will set, and smooth all your handy work, and help keep it in place. For blemished skin, it is important to use a setting powder to get rid of any shine, as shine will make blemishes a lot more noticeable. We use MAC Studio Studio Fix Powder Plus
These three products are medium to heavy coverage products, which means that you should only need one layer (this is where the MAC products give the drugstore alternatives a run for their money) Because they cover most everything in one go saving both time, and product, this means that you will have to repurchase less frequently in the future. It also avoids the need to apply a second or even third layer, which risks cakey-ness (medium blendable to heavy coverage face products are also good because because it works for all skin types, where as light coverage products require more layers, and are only really suitable for very light skin conditions!)
Process & Application
Adriana's Application Process
I personally use my hands to apply my foundation and concealer as all foundation brushed I have used to date seem to disrupt my primer (even after allowing it to dry and set completely), making my pores and scarring to seem more obvious. I legitimately take a minimal amount of foundation and start on my nose and work my way out, with putting the absolute bare minimum on my forehead (not necessary for me). Using my hands allows me to melt the products into my skin, and blend down my neck to ensure no jaw lines.
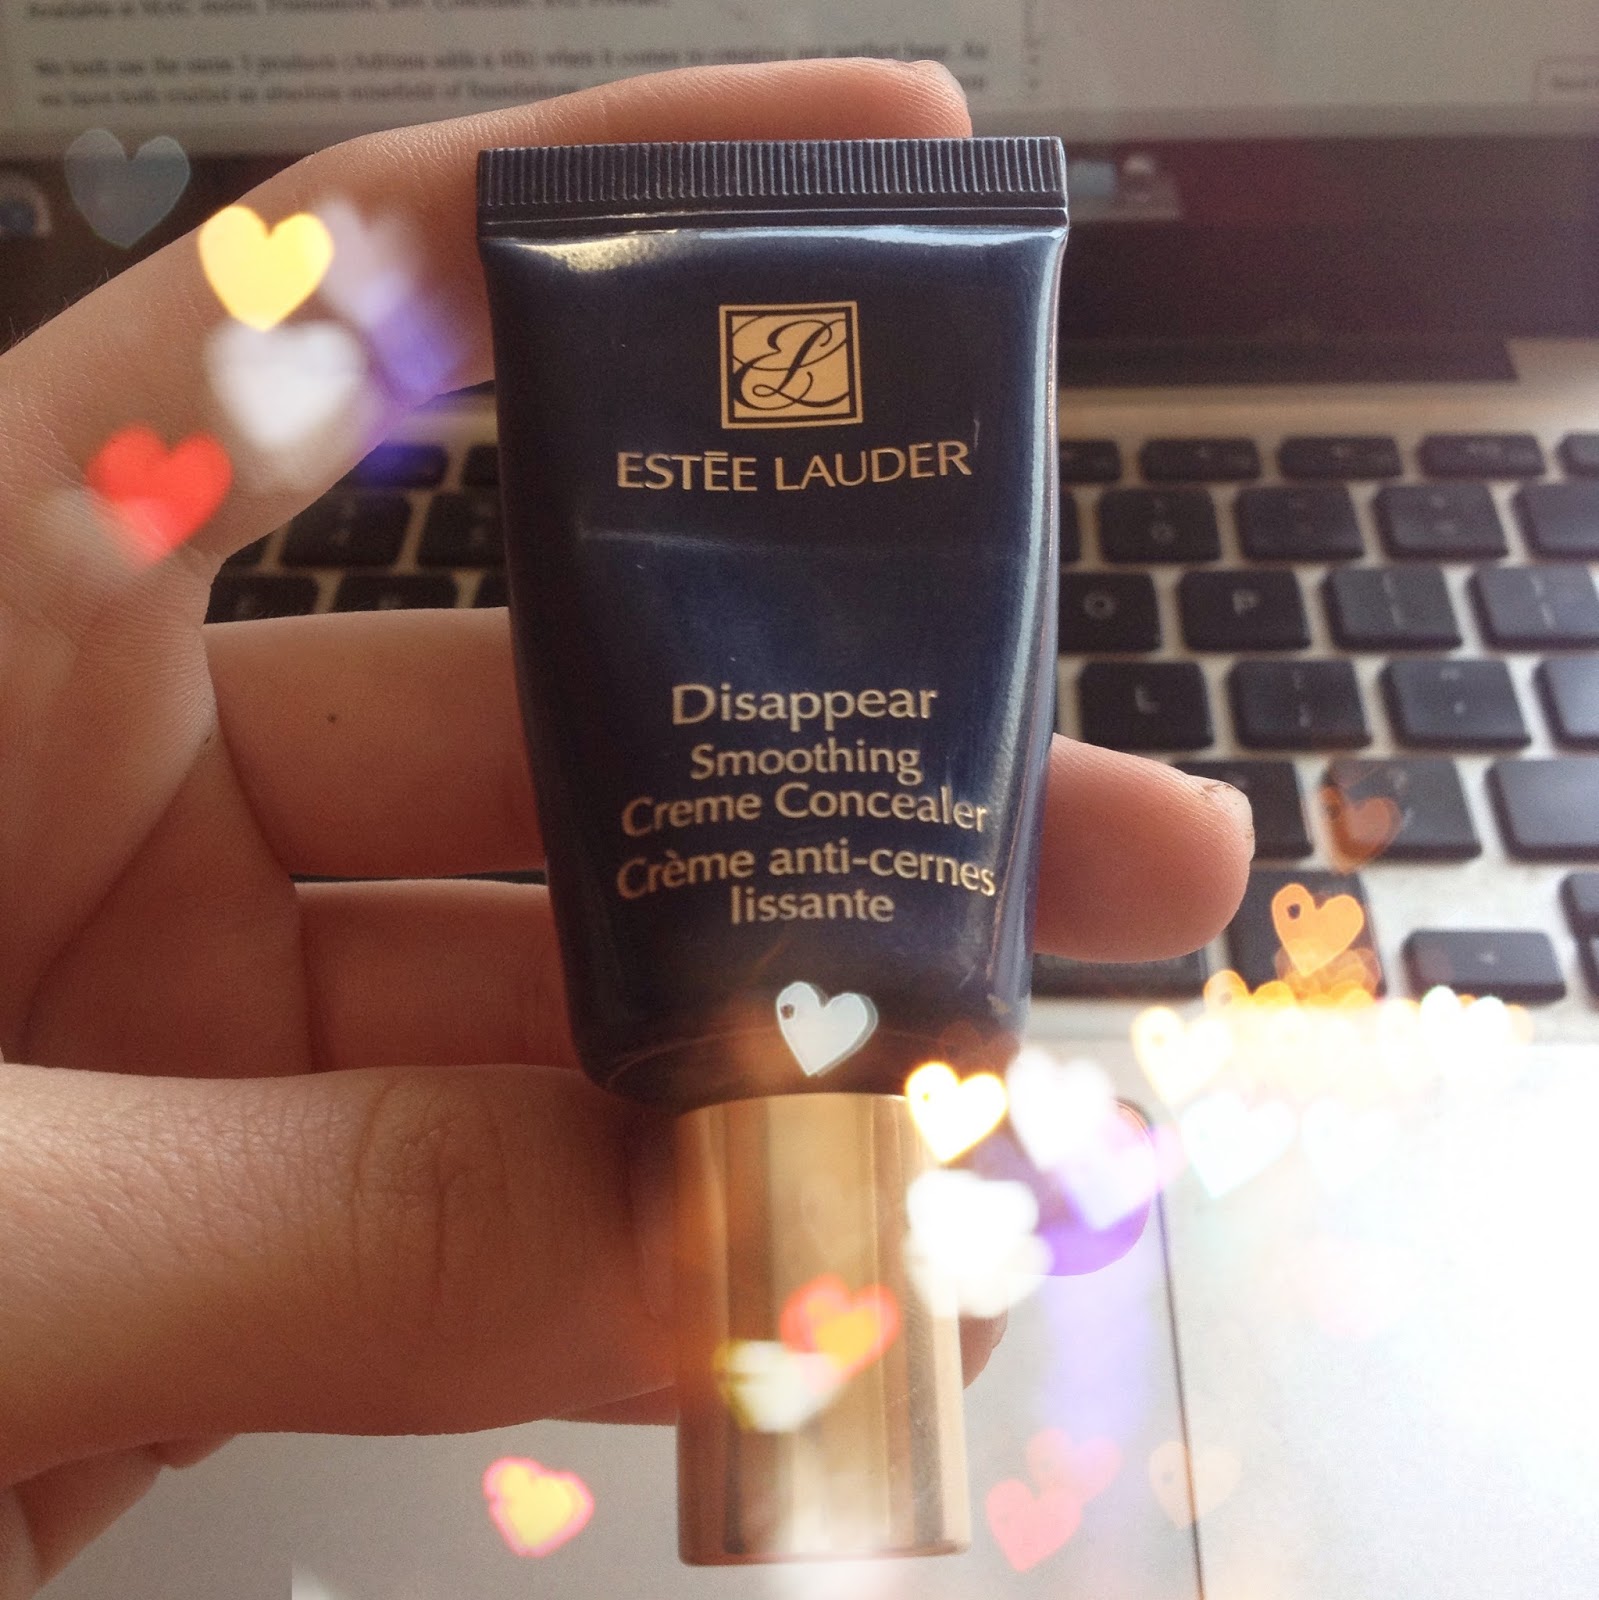
Estee Lauder Disappear, Smoothing Creme Concealer
Available at Estee Lauder Counters - Myer and David Jones stores
$45
Moving onto my concealer I begin by putting a small amount on my ring finger and using circular motions work it into my cheeks (where my scarring and large pores are located) and ensure perfect blending out. This concealer technique allows the concealer to sit in the pits of my scarring and pores and disguise them extremely well. My second concealer by Estee Lauder (shown above) is used for my under-eye area, it is thick in consistency and does not cake the area. I apply this in a patting motion with my ring finger, this creates a flawless undereye that will compliment any eye look. Finally, I use the sponge that comes with my MAC powder and pat it over my entire face (including forehead, minimally), this powder fills in almost completely any visible scarring or large pores. I find that once I have done the above I will look a little powdery, but within 10 minutes you will find that your powder has melted into your foundation to give you a matte, yet satin finish that is ready to be contoured and highlighted.
Sarah's Application Process
I use my Real Techniques Expert Face Brush to apply my foundation, and begin at my chin or jawline because I can then spread the product both upwards and downwards, which I feel takes care of the issue of a visible makeup line, also because it is the furthest point of my face from my forehead where I really need little to no coverage. I then blend the foundation into my whole face leaving my forehead 'til last when there is very little product left on the brush. I then apply my Prolong-wear concealer to areas that I want highlighted - so down the length of my nose, under my eyes, and then around any areas that become red easily, like around the bottom of my nose and my chin. (at this stage I would have already drawn on my eyebrows and boxed them off with this concealer, so there is no need for application near the top of my face). I will then dust some of my MAC powder over my face so that any other product that I apply next (bronzer for contour, or blush etc) doesn't stick to the foundation/concealer, and make the colour too concentrated, as it is a liquid base. Once I have finished the rest of my face I use the sponge that comes with the powder and pat it onto any areas that look shiny, and over any scarred areas (mainly my cheeks) to cover them even further :)!
Surprisingly the price almost the same as in Singapore. The powder fix cost $51. And the prolong-wear concealer cost $30. I'm looking forward to try that Studio Fix Fluid someday. For now, I also using powder fix plus and the matchmaster foundation from MAC :) btw, thanks for sharing this post ^^
ReplyDelete